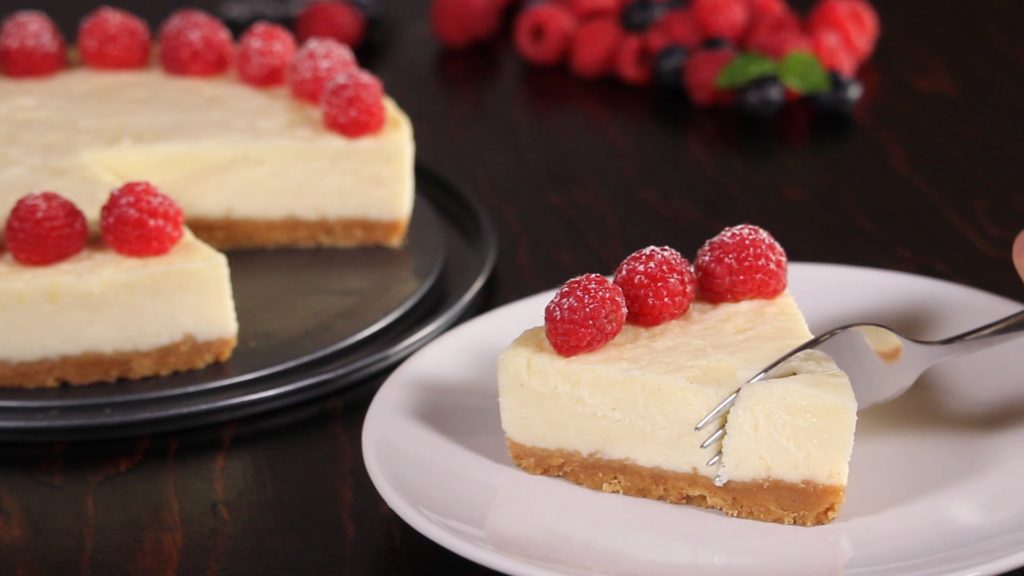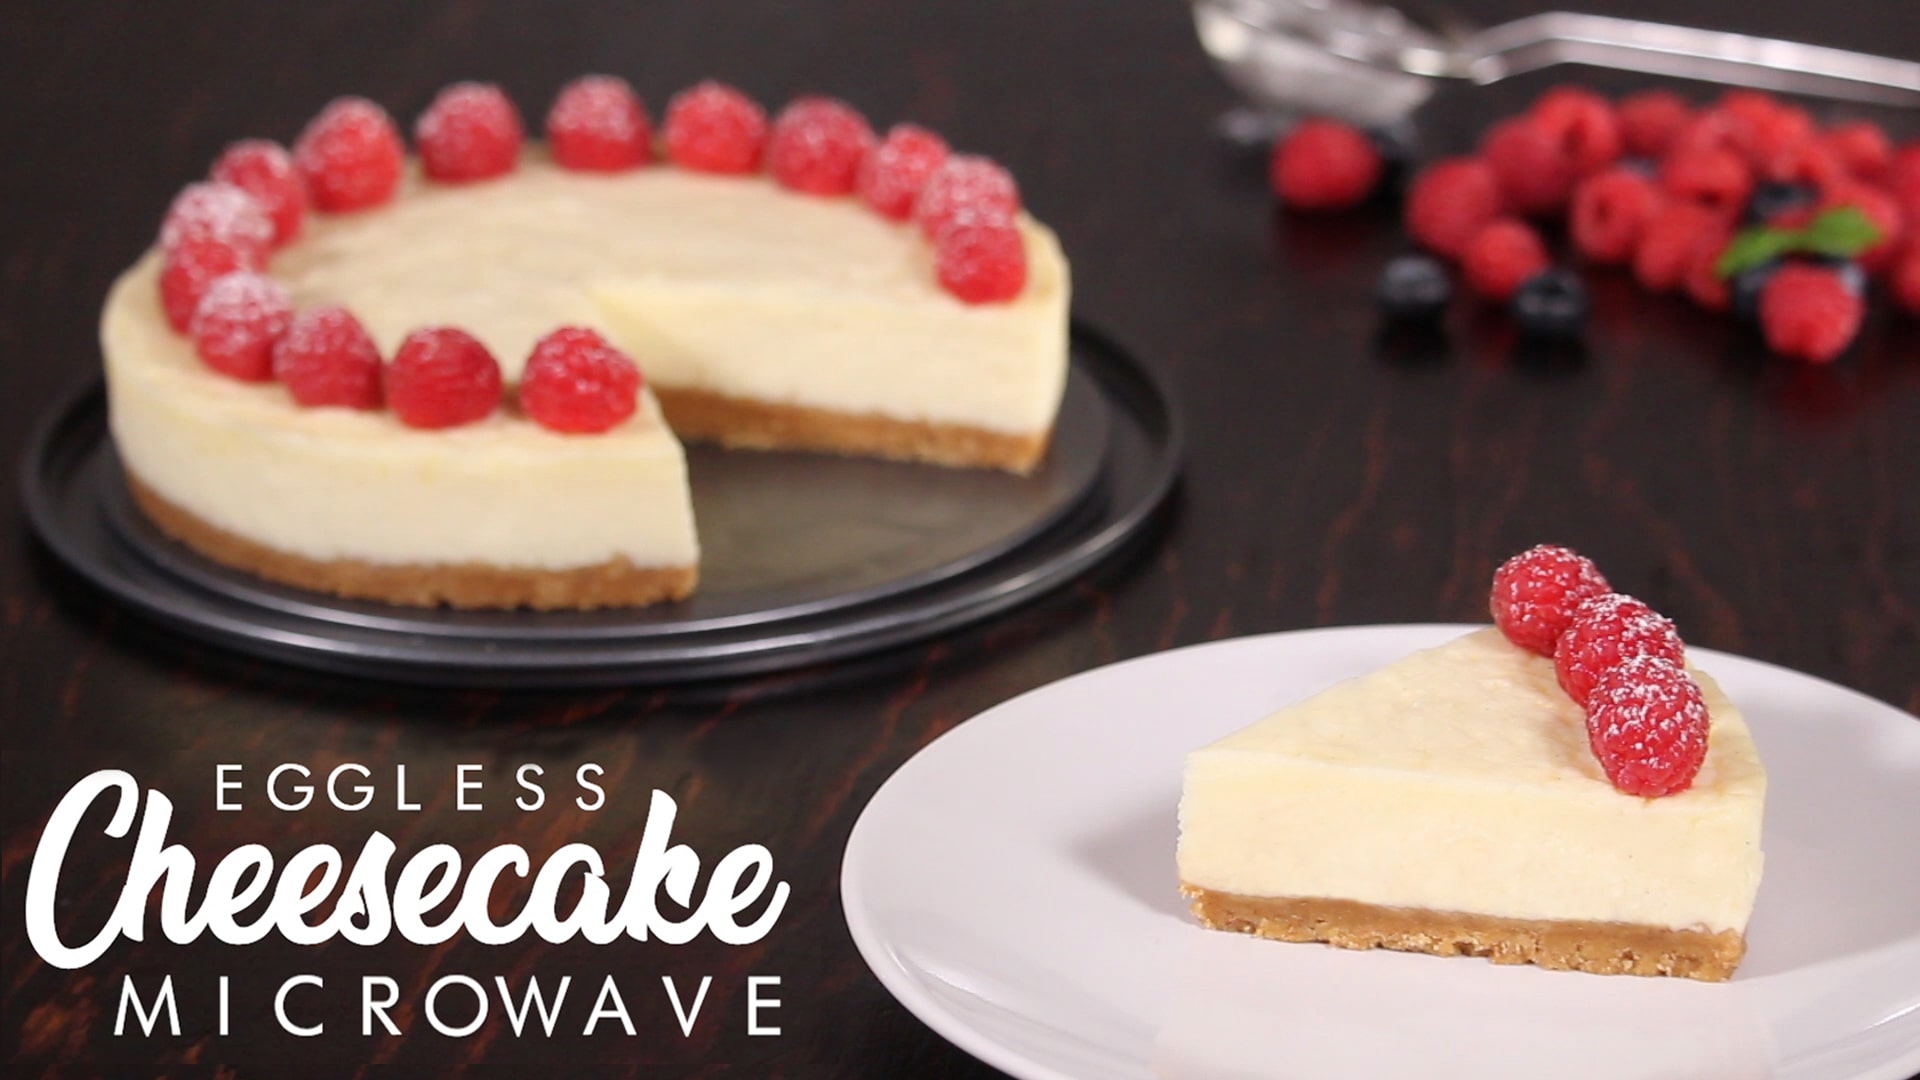

EGGLESS MICROWAVE CHEESECAKE
Can you believe that you can make a classic baked Cheesecake in 10 minutes?! Of course it is possible if you use a Microwave instead of a traditional oven!This Eggless Cheesecake is simply amazing, so rich and creamy, it's made without eggs and it tastes like a regular classic New York Style Cheesecake! This decadent cheesecake is truly the most quick and easy to make, you will love it!If you don't have a microwave you can surely bake it in a classic oven, I'll leave you the infos in the tips section down below.This isn't a no-bake cheesecake, so the texture is thought for baking in oven or cooking in microwave, it reaches the perfect creaminess just after baking time.Like all the classic baked cheesecake, the refrigerating time after baking is needful. But you can refrigerate it just for 60-90 minutes, you are not forced to chilled it overnight like a classic oven-baked cheesecake.
Ingredients
Crust
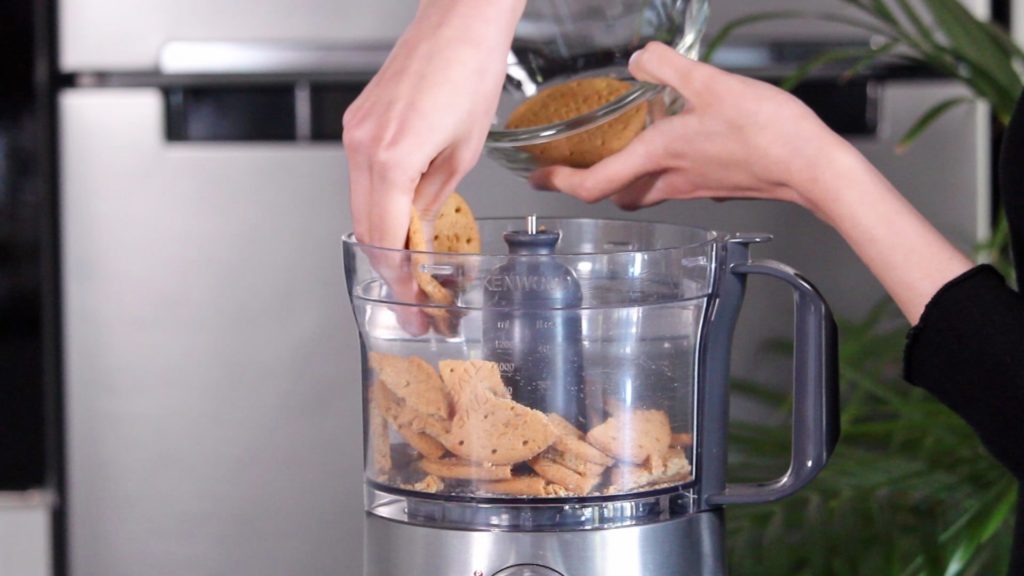
- 160 g (5,5 oz) Digestive biscuits or other type of biscuits
- 80 g (1/3 cup) unsalted butter melted
Filling
- 420 g (15 oz) cream cheese like Philadelphia room temperature
- 110 g (1/2 cup) caster sugar
- 2 tsp vanilla paste or extract
- 120 ml (1/2 cup) whipping cream or heavy cream chilled
- 120 g (1/2 cup) unsweetened plain yogurt or sour cream room temperature
- 100 g (1/3 cup) sweetened condensed milk
- 15 g (1 tbsp) cornstarch or all purpose flour
- About 20-30 g (2 tbsp) milk or whipping cream warm
Instructions
Crust
- Process the biscuits until crumbs form. You can use a food processor or place them into a ziplog bag and use a rollin pin to mash them.
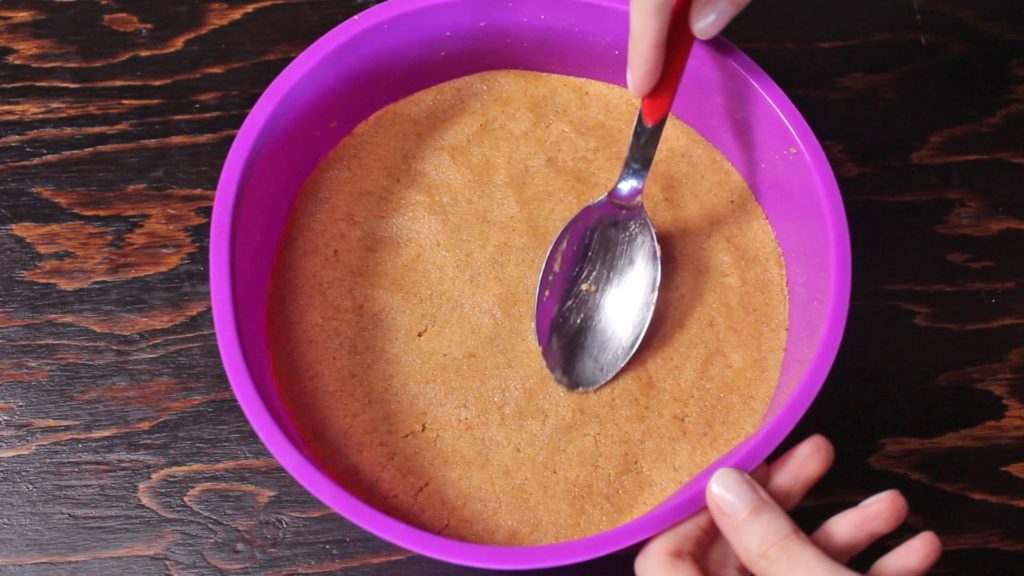
- Add the melted butter and mix until evenly moistened. If you use a food processor, don't process too much to avoid warming the butter.
- Place the biscuit mix into a silicone 19,5cm - 7,5 inch cake pan (or a microwave save pan) and press with the back of a spoon to create a flat crust.
- Refrigerate until prepare the filling.
Filling
- In a large bowl, place cream cheese, vanilla, sugar and mix just until combined and creamy. Don't mix too much if you use an electric mixer, you don't have to incorporate air bubbles.
- Add whipping cream and mix for 1-2 minutes until creamy.
- Keep on mixing, add yogurt, condensed milk and mix just until combined.
- In a small bowl, place cornstarch and add warm milk little by little until get a fluid mix.
- Add the cornstarch mix into the cream cheese mix and mix just until combined: don't overmix!
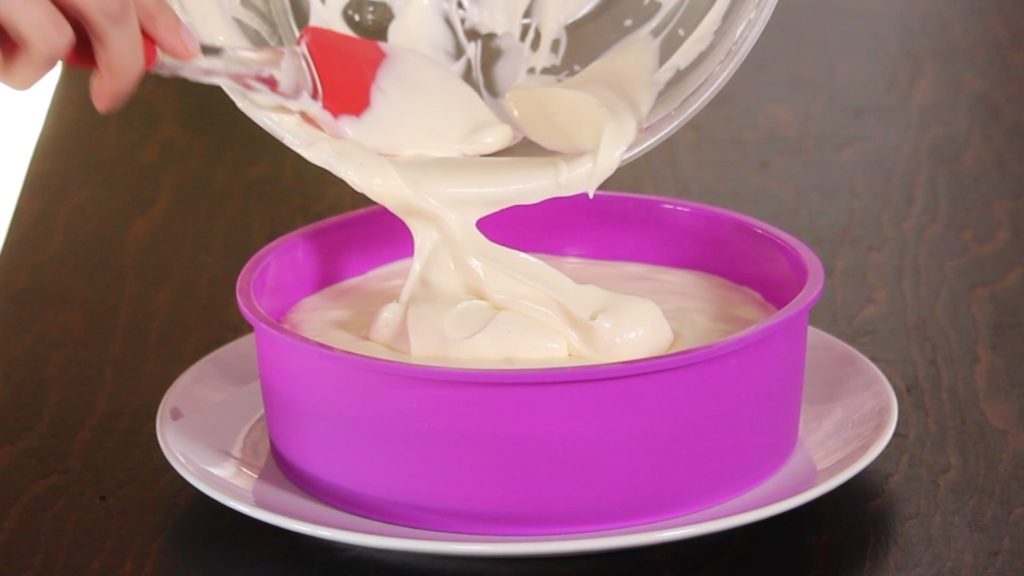
- Place the filling over the crust and spread evenly with a spatula.
- Microwave the cheesecake for about 6 to 10 minutes: check the cake every 2 minutes; I've used a 800 W microwave and my cheesecake cooked in 10 minutes. It's ready when the surface is rough, it bubbles a bit and the center jiggle a lot.
- Carefuly remove the cake from the microwave (it's very hot!) and cool down completely at room temperature.
- Refrigerate to set completely: I prefer to chill overnight, but you can chill it for about 1 hour in refrigerator.
- Unmold the cake when you just remove it from the fridge ad it's well chilled, then place it on a serving plate.
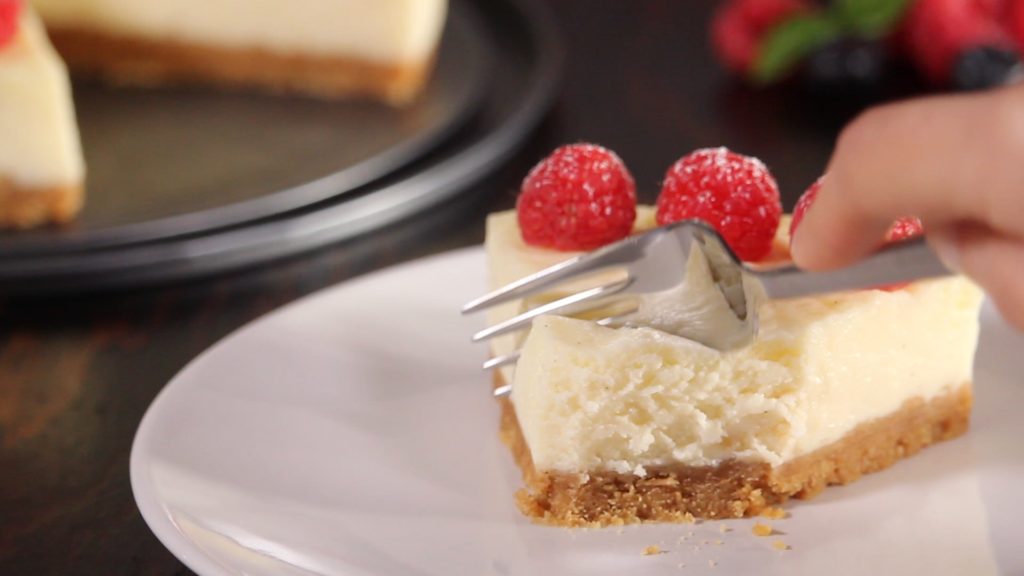
- Remove the cake from the fridge about 15-30 minutes before serving to get a creamy cheesecake (otherwise the texture of the chilled cheesecake will be more firm).
- Decorate with some raspberries and powdered sugar (optional).
Video
Notes
You can store this cheesecake in refrigerator for 1 week or freeze it for 1 month.
Hello, I am Valentina! Welcome to How Tasty!

I am an Italian girl in love with baking and cooking. I’ve been raised in a cooking family, baking since I was a little girl and learning from my mom and my professional chef grandma.
I created the Youtube channel How Tasty in 2017 to share with you my passion.
You don’t need to be a professional cook to follow all my recipes thanks to the video tutorials and the tips & hints you can find here.
Let’s cook!