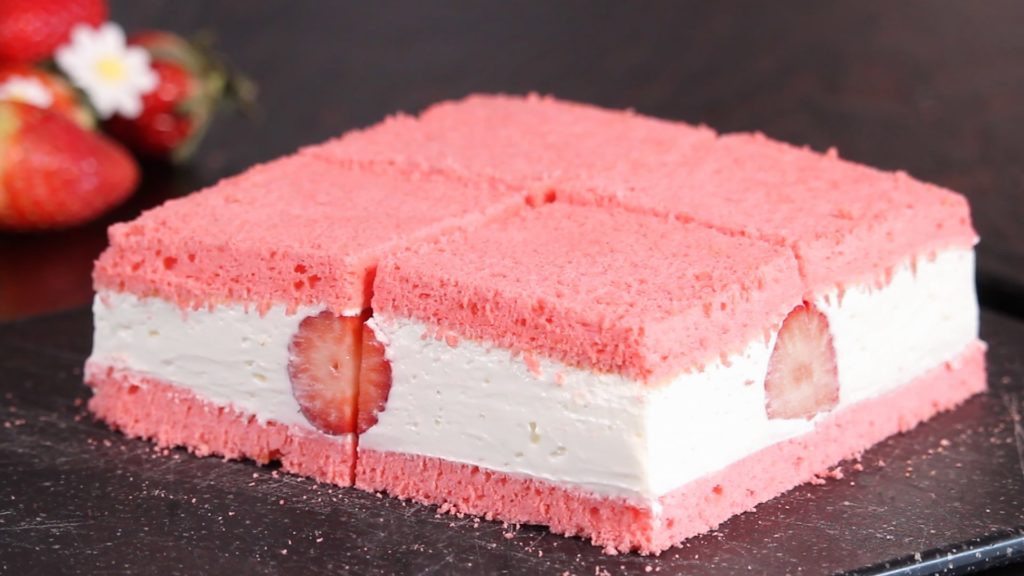

JAPANESE STRAWBERRY SANDWICH
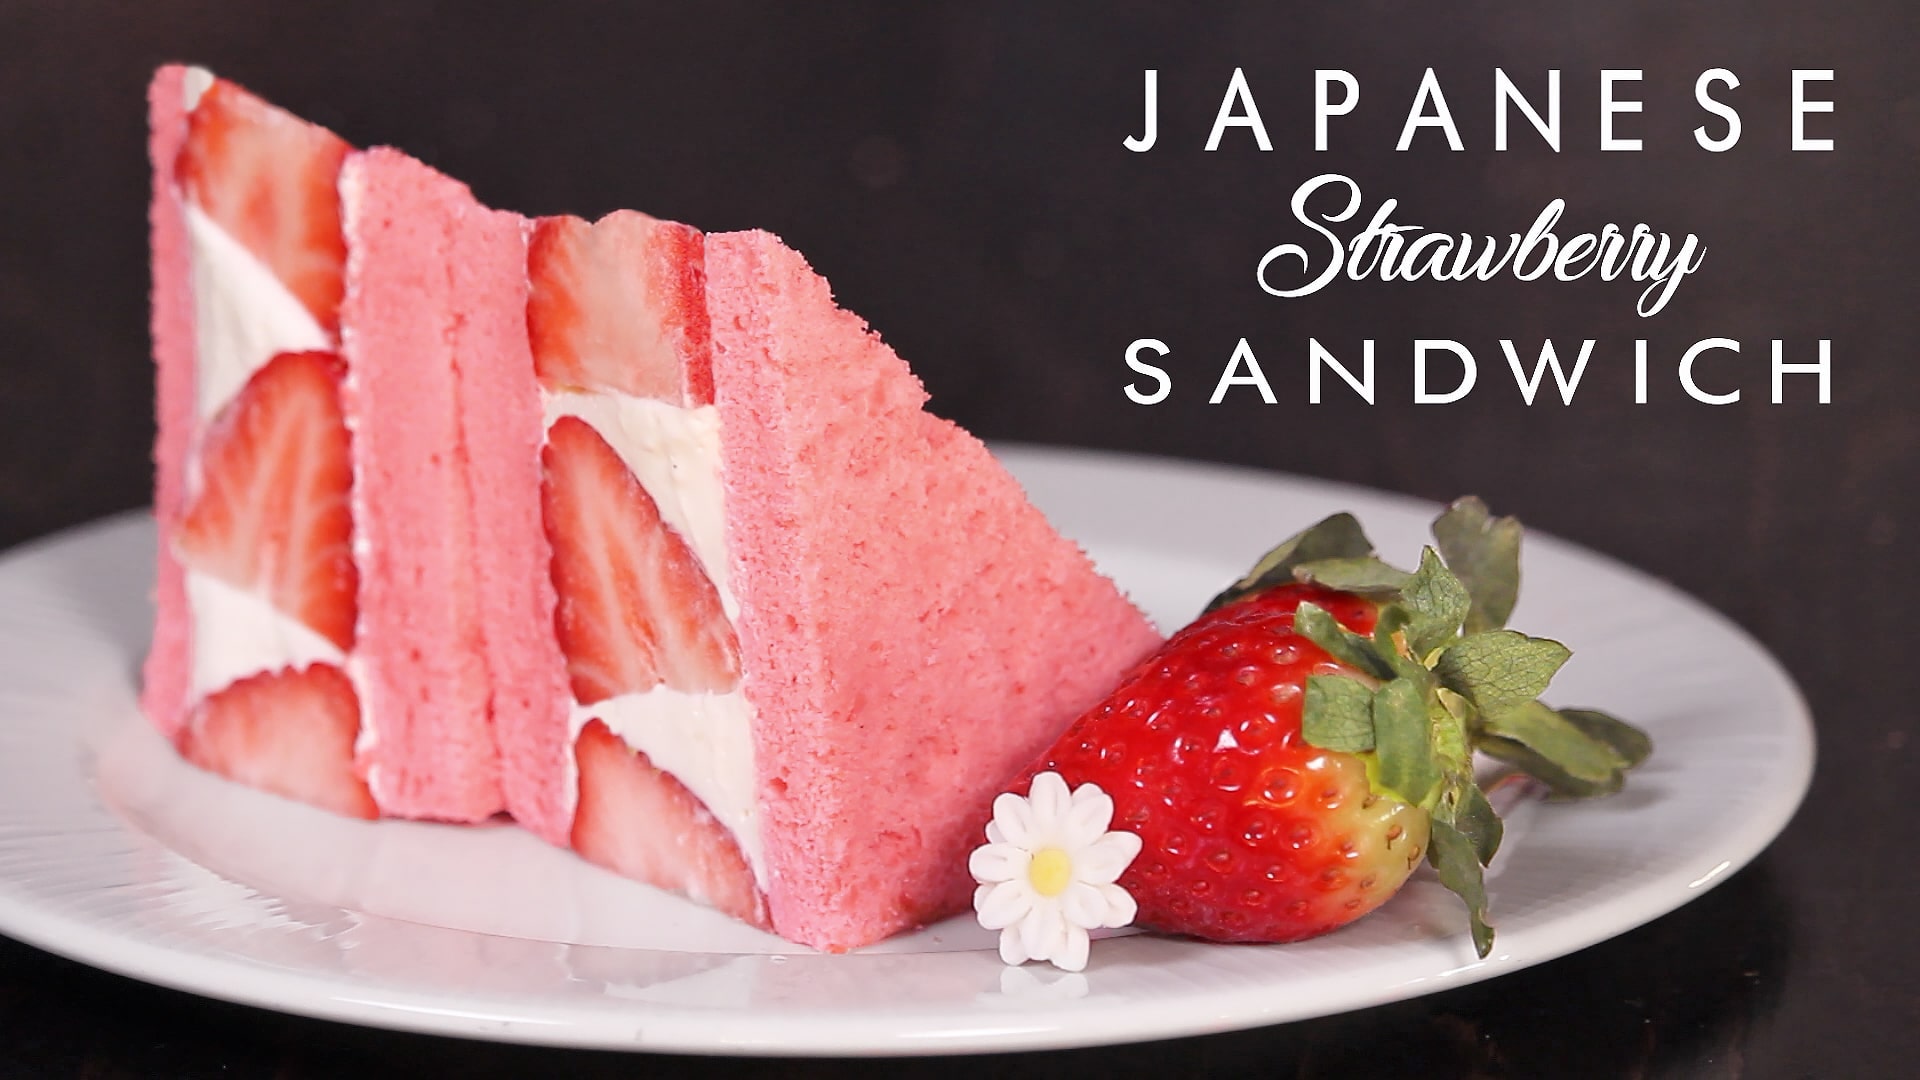
Japanese Strawberry Sandwiches are made with a fluffy sponge cake and filled with delicious vanilla whipped cream and fresh strawberries. Soft and fluffy like a pillow, these are similar to Japanese Strawberry Shortcakes, but in mini sandwich version.In Japan they are called "Sando", better "Fruit Sando" and are usually made with simple milk bread sliced and filled with whipped cream and fresh fruits. I decided to make a moist sponge cake instead of milk bread to get quickly lovely pink layers that make them perfect for particular occasion like Valentine's Day.If you don't want to make the sponge cake, you can use store-bought milk bread or sandwich bread. You can also follow my Tangzhong Milk Bread recipe you can find here on my web-site (bread section) and on YouTube too. Always remember to cool down completely your bread before slice it!If you don't like strawberries or if they are not in season, you can use any other fruit like banana, kiwi, tangerine...unleach your immagination to create lovely pattern with your fruits! To get simmetrical fruit pattern, think well the orientation of the fruit and the cross sections. It's also helpful using fruit about of the same size. If your fruits have heterogeneous shapes, just shape and cut them to create pattern.They are perfect like sweet treat, lovely dessert and my pink version is cute for Mother's Day, Valentine's Day or any other occasion!
Ingredients
Sponge Cake
- 3 egg yolks room temperature
- 3 egg whites room temperature
- 40 g (3 tbsp) caster sugar
- 40 g (3 tbsp) caster sugar
- 1/2 tsp cream of tartar or lemon juice
- 1 tsp vanilla paste or vanilla extract
- 50 ml (3+1/2 tbsp) milk room temperature
- pink food coloring optional
- 90 g (3/4 cup) all purpose flour
- 10 g (1+1/2 tbsp) cornstarch or all purpose flour
- 1/2 tsp baking powder
Filling
- 470 ml (2 cups) whipping cream or heavy cream, chilled
- 6 g gelatine leaves or gelatine powder or agar agar
- 30 ml (2 tbsp) whipping cream or heavy cream, hot
- 1 tsp vanilla paste or vanilla extract
- 55 g (1/2 cup) powdered sugar
- about 13 strabwerries washed and dried
Instructions
Sponge Cake
- Line and grease a 20x20cm-8x8inch cake pan.
- In a large size bowl, whip the egg whites with cream of tartar. When starts to dense white foamy, add little by little 40 g of sugar and whip until stiff peaks form. Set aside.
- In a medium size bowl, sift together flour, baking powder, cornstarch and mix to combine. Set aside.
- In a medium size bowl, place the egg yolks, 40 g of sugar, vanilla and mix until thick and pale.
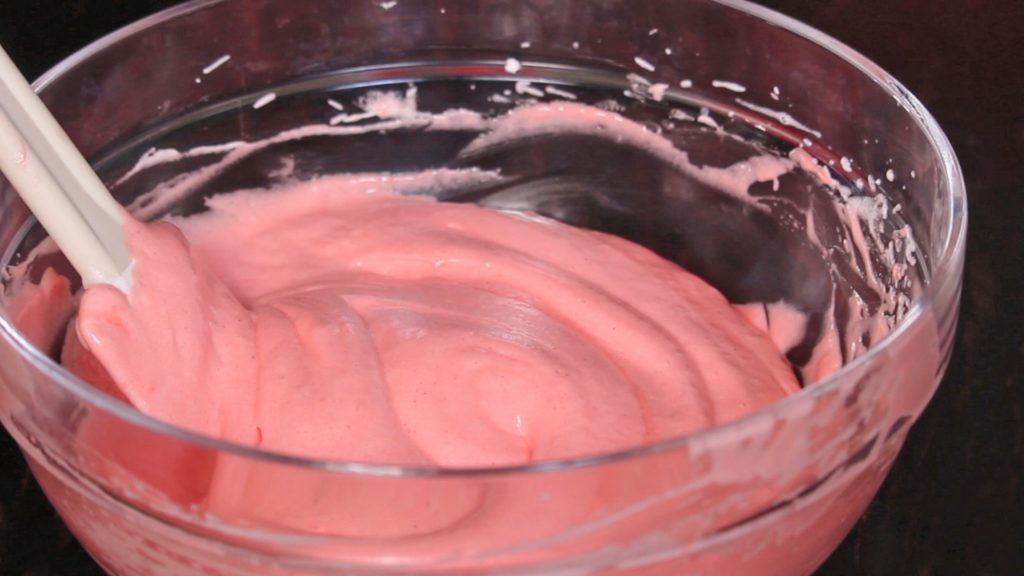
- Incorporate milk, pink food coloring, flour mix in two times and mix just until combined: don't overmix!
- Add about 1/4 of egg whites mix in the yolk mix and well combine.
- Place the egg yolk mix into the egg whites mix and gently fold with a spatula until combined. Be careful to not deflat the batter.
- Place the cake batter into the prepared cake pan and spread evenly.
- Bake in preheated no fan oven (upper and lower heat) at 160°C – 320°F for 20 minutes or until a toothpick comes out clean.
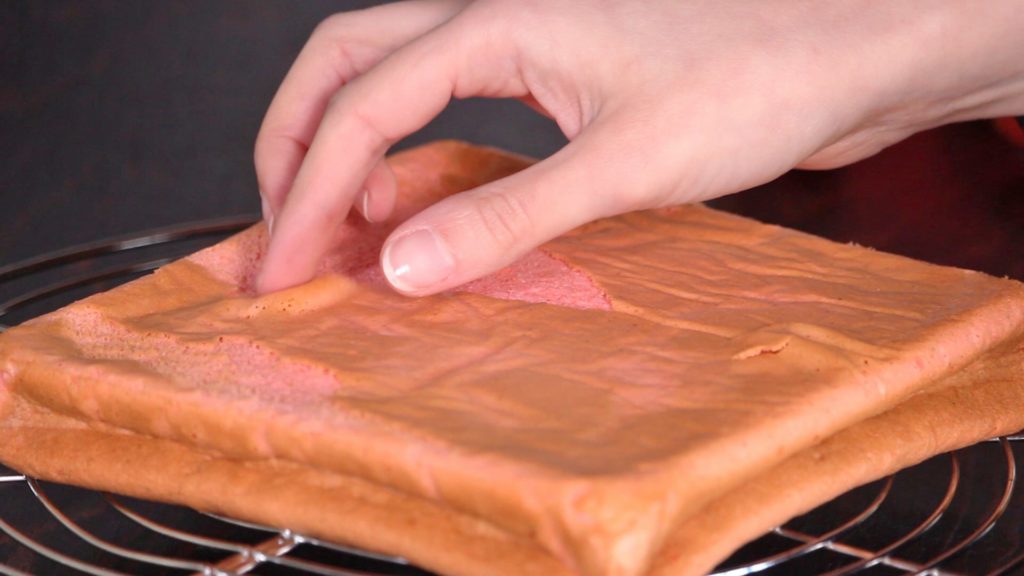
- Let cool down slightly in the pan, then unmold it on a wire rack to cool down completely. If you want to remove the brown cake skin, you can easily make it when still hot using your fingers or a knife.
- Cut the cake into 2 layers when completely cooled down.
Filling
- Soak gelatine sheets into cold water for 5-10 minutes. If you use gelatine powder, you don't need this soaking step. If you use agar agar, following the instructions written on its packaging.
- Meanwhile whip 470 ml of whipping cream with vanilla until medium peaks.
- Squeeze the soaked gelatine sheets and place it into 30 ml of hot whipping cream: mix until completely dissolved. Heat few seconds if gelatine doesn't dissolve completely.
- Place gelatine mix and powdered sugar into whipping cream and whip until firm and medium-stiff pwaks formed (be careful to not overwhip whipping cream or it turns out into butter).
Assemble
- Spread a thin layer of whipping cream mix on top of one cake layer.
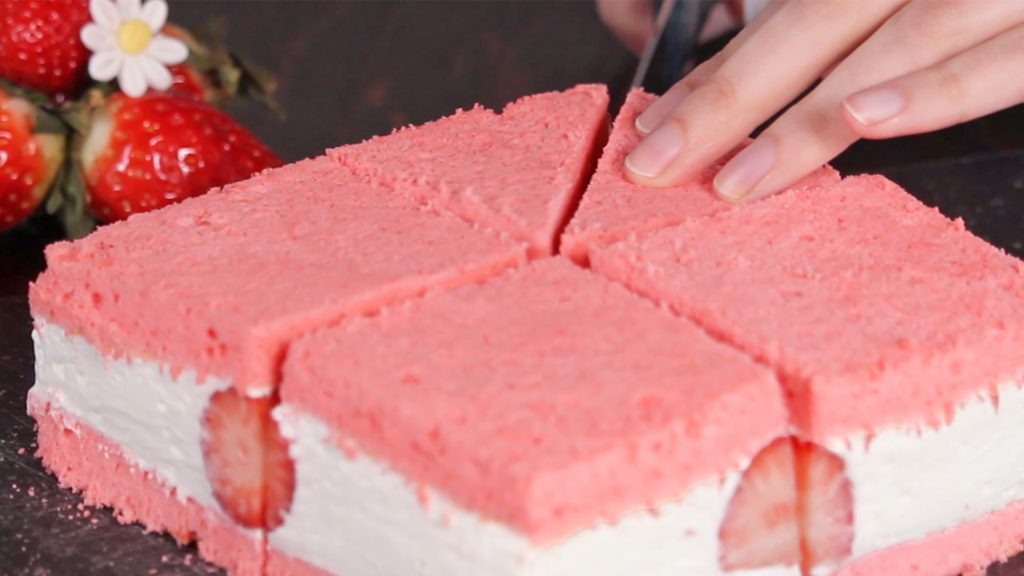
- Place whole straberries forming a cross: the place where you put strawberries, is where you will cut the cake, so you'll see the sections of strawberries.
- Cover strawberries with whipping cream mix. You can use a piping bag (optional) to fill all the gaps.
- Place the second cake layer on top.
- Wrap the cake into plastic wrap and put in refrigerator for at least 90 minutes before slice it.
- Trim the edges to get a neat look.
- Slice the cake into 4 squares (cutting where you placed strawberries), then divide each square into 2 triangles.
Video
Notes
Store in refrigerator for about 4-5 days.
Hello, I am Valentina! Welcome to How Tasty!

I am an Italian girl in love with baking and cooking. I’ve been raised in a cooking family, baking since I was a little girl and learning from my mom and my professional chef grandma.
I created the Youtube channel How Tasty in 2017 to share with you my passion.
You don’t need to be a professional cook to follow all my recipes thanks to the video tutorials and the tips & hints you can find here.
Let’s cook!