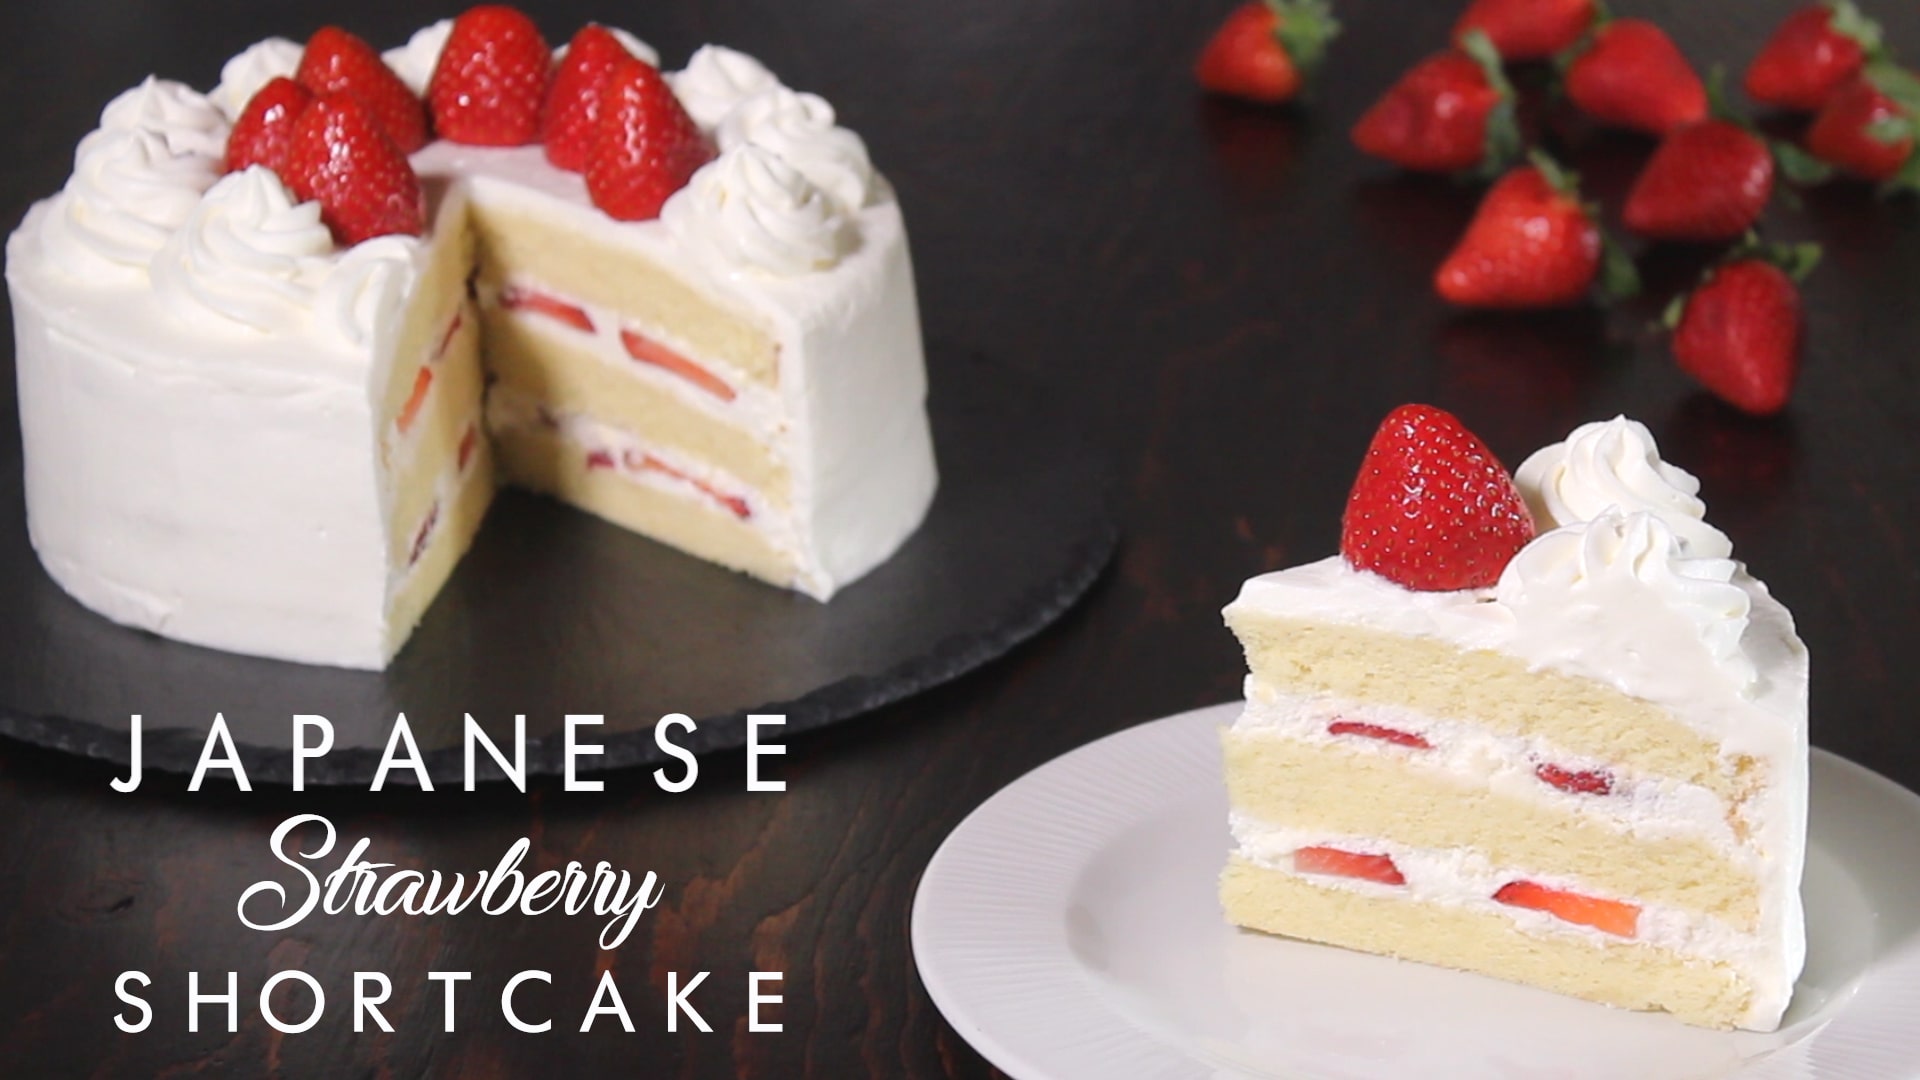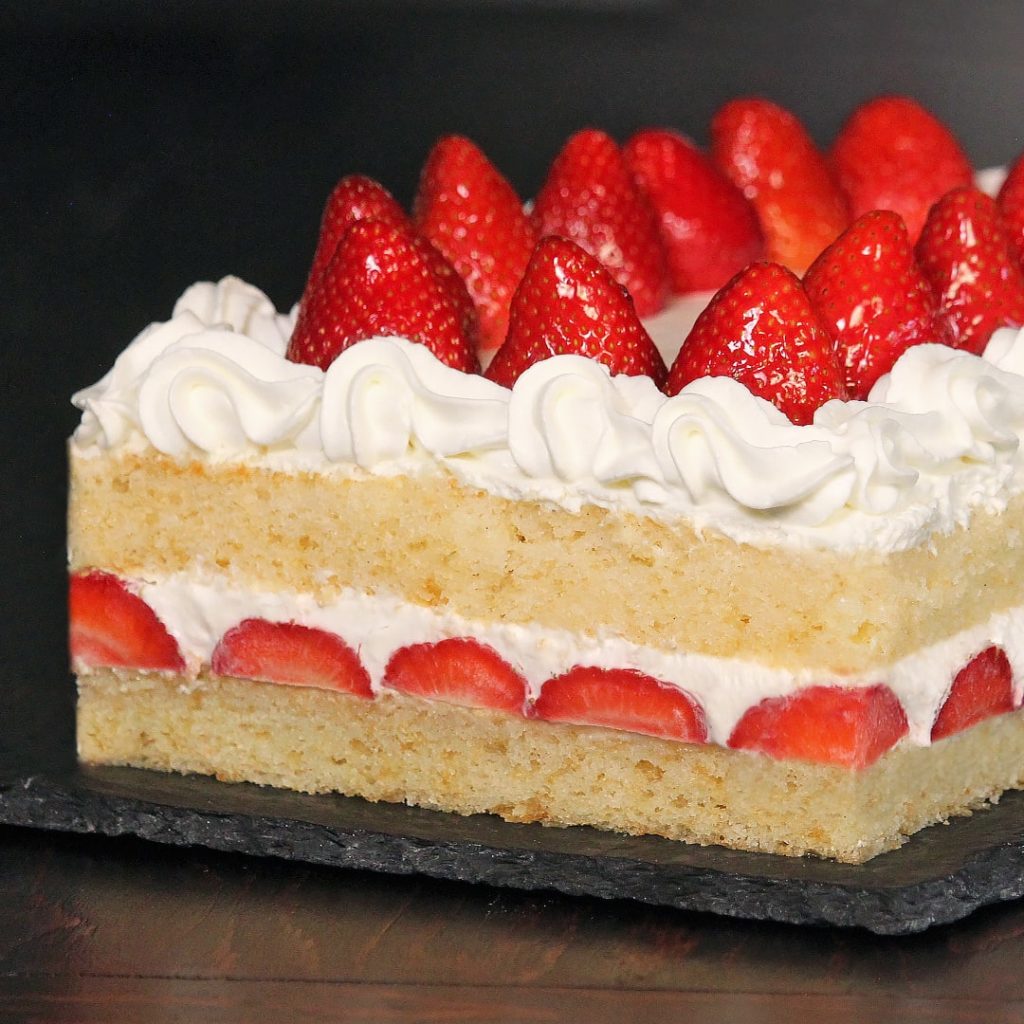
JAPANESE STRAWBERRY SHORTCAKE
Ingredients
Sponge Cake
- 5 eggs room temperature
- 1 tsp vanilla paste or extract
- 150 g (3/4 cup) caster sugar
- 80 g (1/3 cup) milk room temperature
- 25 g (2 tbsp) vegetable flavorless oil (sunflower seeds oil, canola oil...)
- 120 g (1 cup) all purpose flour
- 30 g (3 tbsp) cornstarch
- 3 g (1/2 tsp) baking powder
Filling
- 600 ml (2+1/2 cups) whipping cream chilled
- 60 g (1/2 cup) vanilla powdered sugar or plain powdered sugar + 2 teaspoons vanilla extract or vanilla paste or 1/2 vanilla bean seeds
- About 8 fresh strawberries
- Gelatin optional
Instructions
Sponge Cake
- In a medium size bowl sitf together flour, cornstarch, baking powder and set aside.
- In a large bowl place eggs, sugar, vanilla and start mixing at medium-low speed until start foamy.
- Increase the speed to medium-high and mix until become very pale, thick and at least triple the volume (be patient and mix for at least 15 minutes).
- Add milk and oil and mix just until combined.
- Add the flour mix in two times and mix at low-medium speed just until combined, don’t overmix or you will break the air bubbles.
- Equally divide the batter in 3 baking pan (20 cm-8 inch) greased and lined with parchment paper.
- Bake in preheated oven at 170°C-340°F for about 15 minutes or until a toothpick comes out clean.
- Remove from the oven and cool down slightly
- Unmold the cake and while still warm, you can easily remove the dark skin with your fingers or dark spots with the knife. This is absolutely optional, just for giving a clean Japanese style to the cake.
- Cool the cake down completely.
Filling
- Slice in medium-thin slices about 7-8 fresh strawberries and place the slices between two kitchen papers to absorb the strawberry water. Set aside.
- In a large chilled bowl place whipping cream and mix until soft peaks.
- Add powdered sugar (and vanilla if you can’t find vanilla powdered sugar) and mix until medium-stiff peaks.
Assemble the Cake
- Place the first layer of cake on the serving plate.
- Place on top one layer of whipped cream. I’ve used a piping bag with 1 cm round piping tip to evenly spread the cream. Place strawberry slices on top and cover with another layer of whipped cream.
- Place on top the second layer of cake and repeat: whipped cream, strawberry, whipped cream and place the top layer of the cake.
- Place whipped cream on top and on the sides (I’ve used 1 cm round piping tip) and spread with an offset spatula.
- Decorate with the remaining whipped cream (1M open star piping tip) and fresh shtrawberries.
- Refrigerate the cake for at least 2 hours before serving it. The more it will stays in the fridge, the more the sponge cake will turn out moist because it will absorb the cream moisture, so you can make it the day before.
Video
Notes
Hello, I am Valentina! Welcome to How Tasty!

I am an Italian girl in love with baking and cooking. I’ve been raised in a cooking family, baking since I was a little girl and learning from my mom and my professional chef grandma.
I created the Youtube channel How Tasty in 2017 to share with you my passion.
You don’t need to be a professional cook to follow all my recipes thanks to the video tutorials and the tips & hints you can find here.
Let’s cook!
Tips:
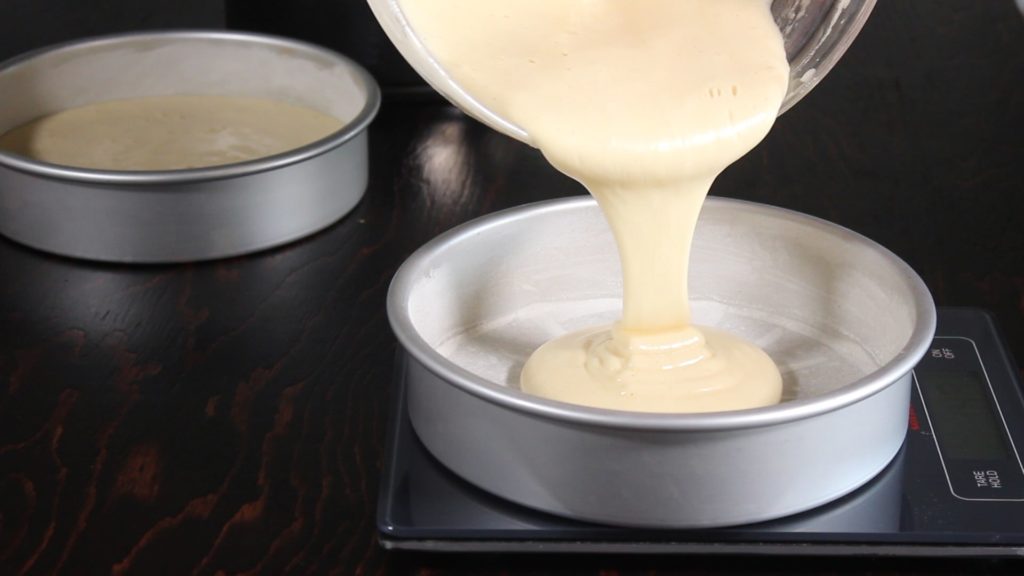
If you want to get a perfect sponge cake, you have to be patient and mix the eggs and sugar with an electric hand mixer until the batter turns out thick and pale. You will get a spongy cake structure thanks to the air bubbles you incorporated while mixing. I suggest you to not use a whisk because it will be very hard to get a thick batter without an electric tool!
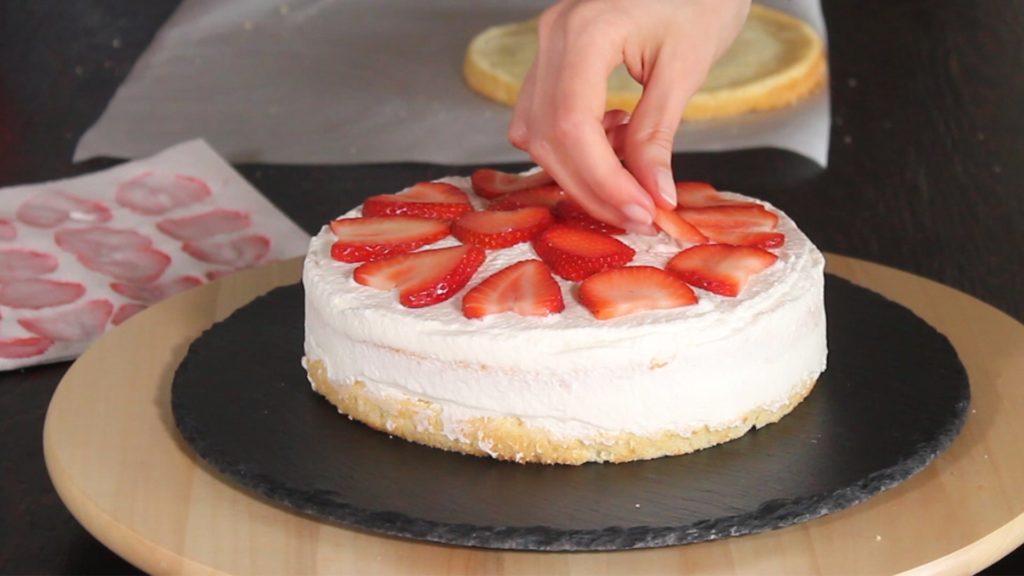
I prefer using a piping bag with an 1 cm round piping tip for spreading a regular layer of whipping cream under and over the strawberry slices filling. If you don’t have a piping bag, don’t worry! You can just place the whipped cream with a spoon and carefully spread it with a spatula.
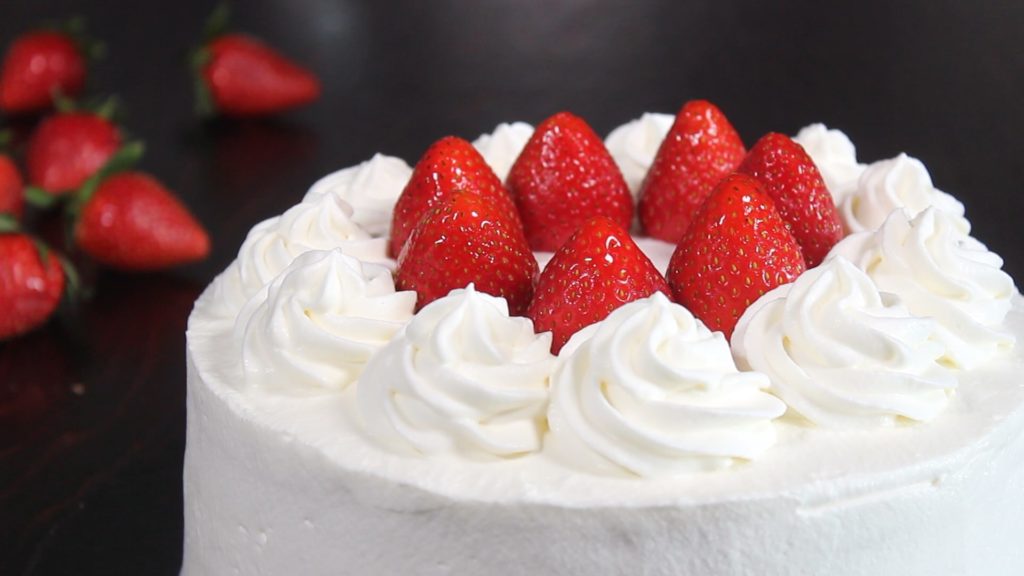
I’ve brushed some gelatin over the strawberries on top of the cake to get a lovely shiny finishing, but you can skip this step.
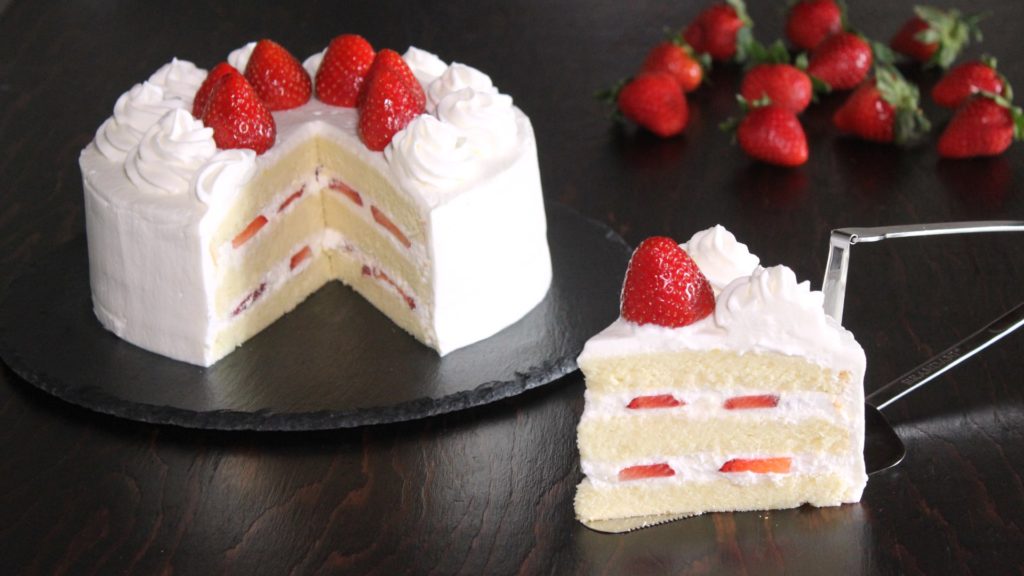
If you don’t have 3 cake pans of the same size, or your oven is too small, you can place the cake batter in one cake pan, bake the cake for more time (until a toothpick comes out clean), the you will cut the cake in three layers after the cake will cool down.
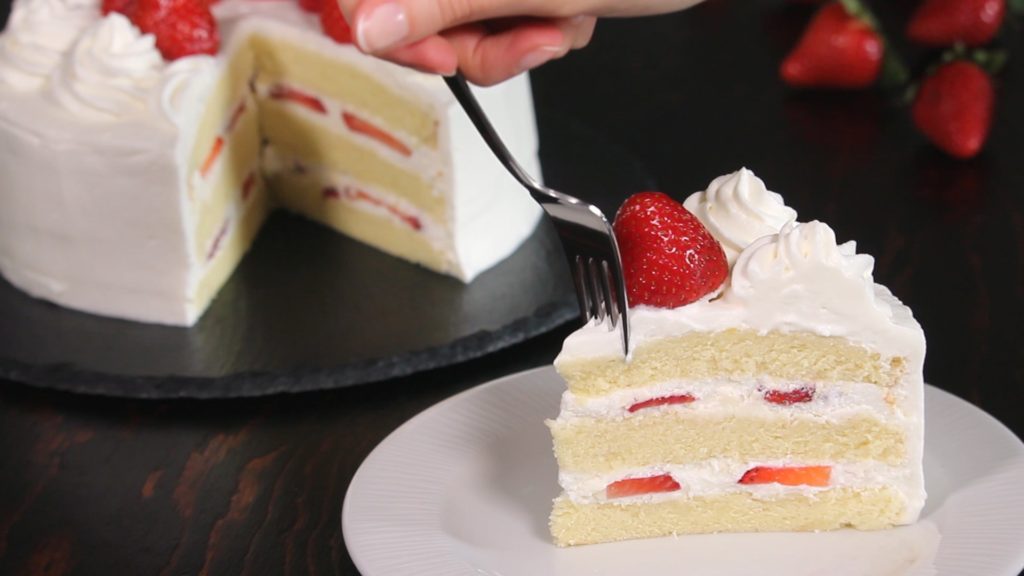
Be careful to not over whip the whipping cream or it will turn into butter! Whipped cream should be light and creamy, not too thick.
If you live in a hot climate and you’re afraid that your whipped cream could collapse, remember these hints:
- always whip the cream into a prepared chilled bowl. I usually place my bowl into freezer for about 15 minutes before whipping the cream.
- after you’ve whipped your cream, you can place it in refrigerator for about 20 minutes to chill, then you will frost the cake when the cream will be very chilly again and it won’t collapse.

